Where to find it
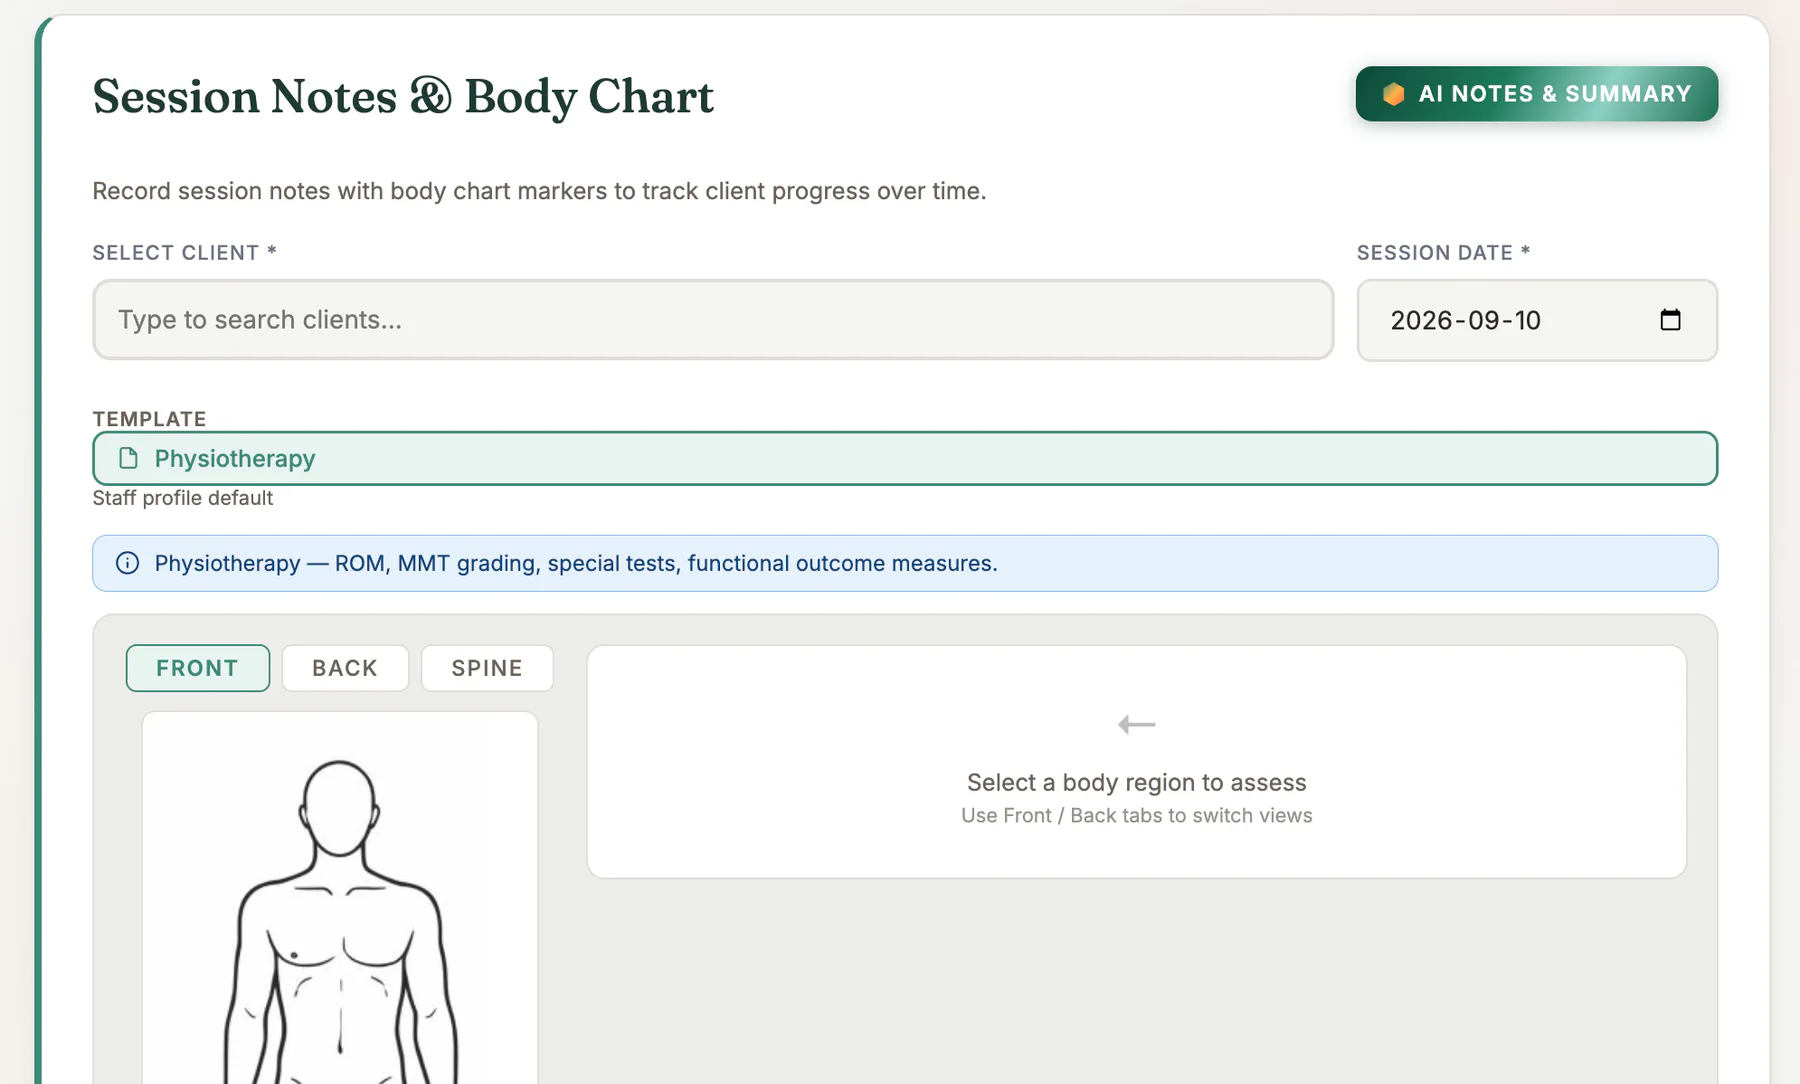
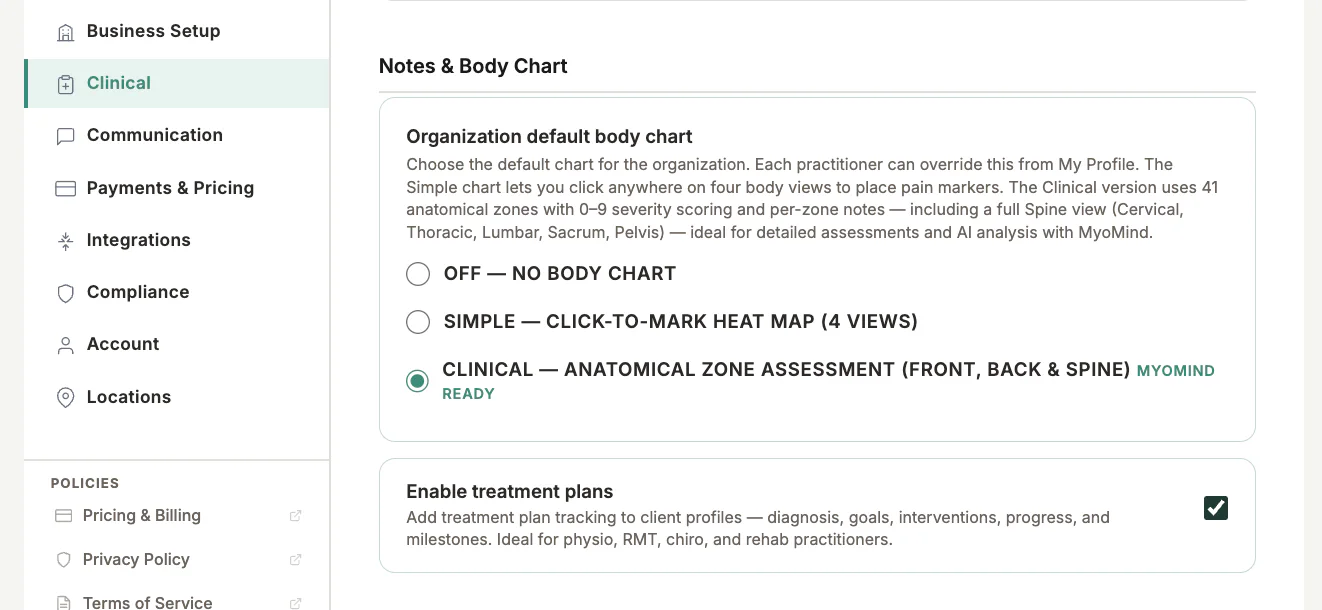
Open Notes, select a client and session, and use the body chart shown for the organisation’s configured chart mode.
Step by step
1
Choose the correct client and session
Confirm the context before adding any marks.
2
Choose the view
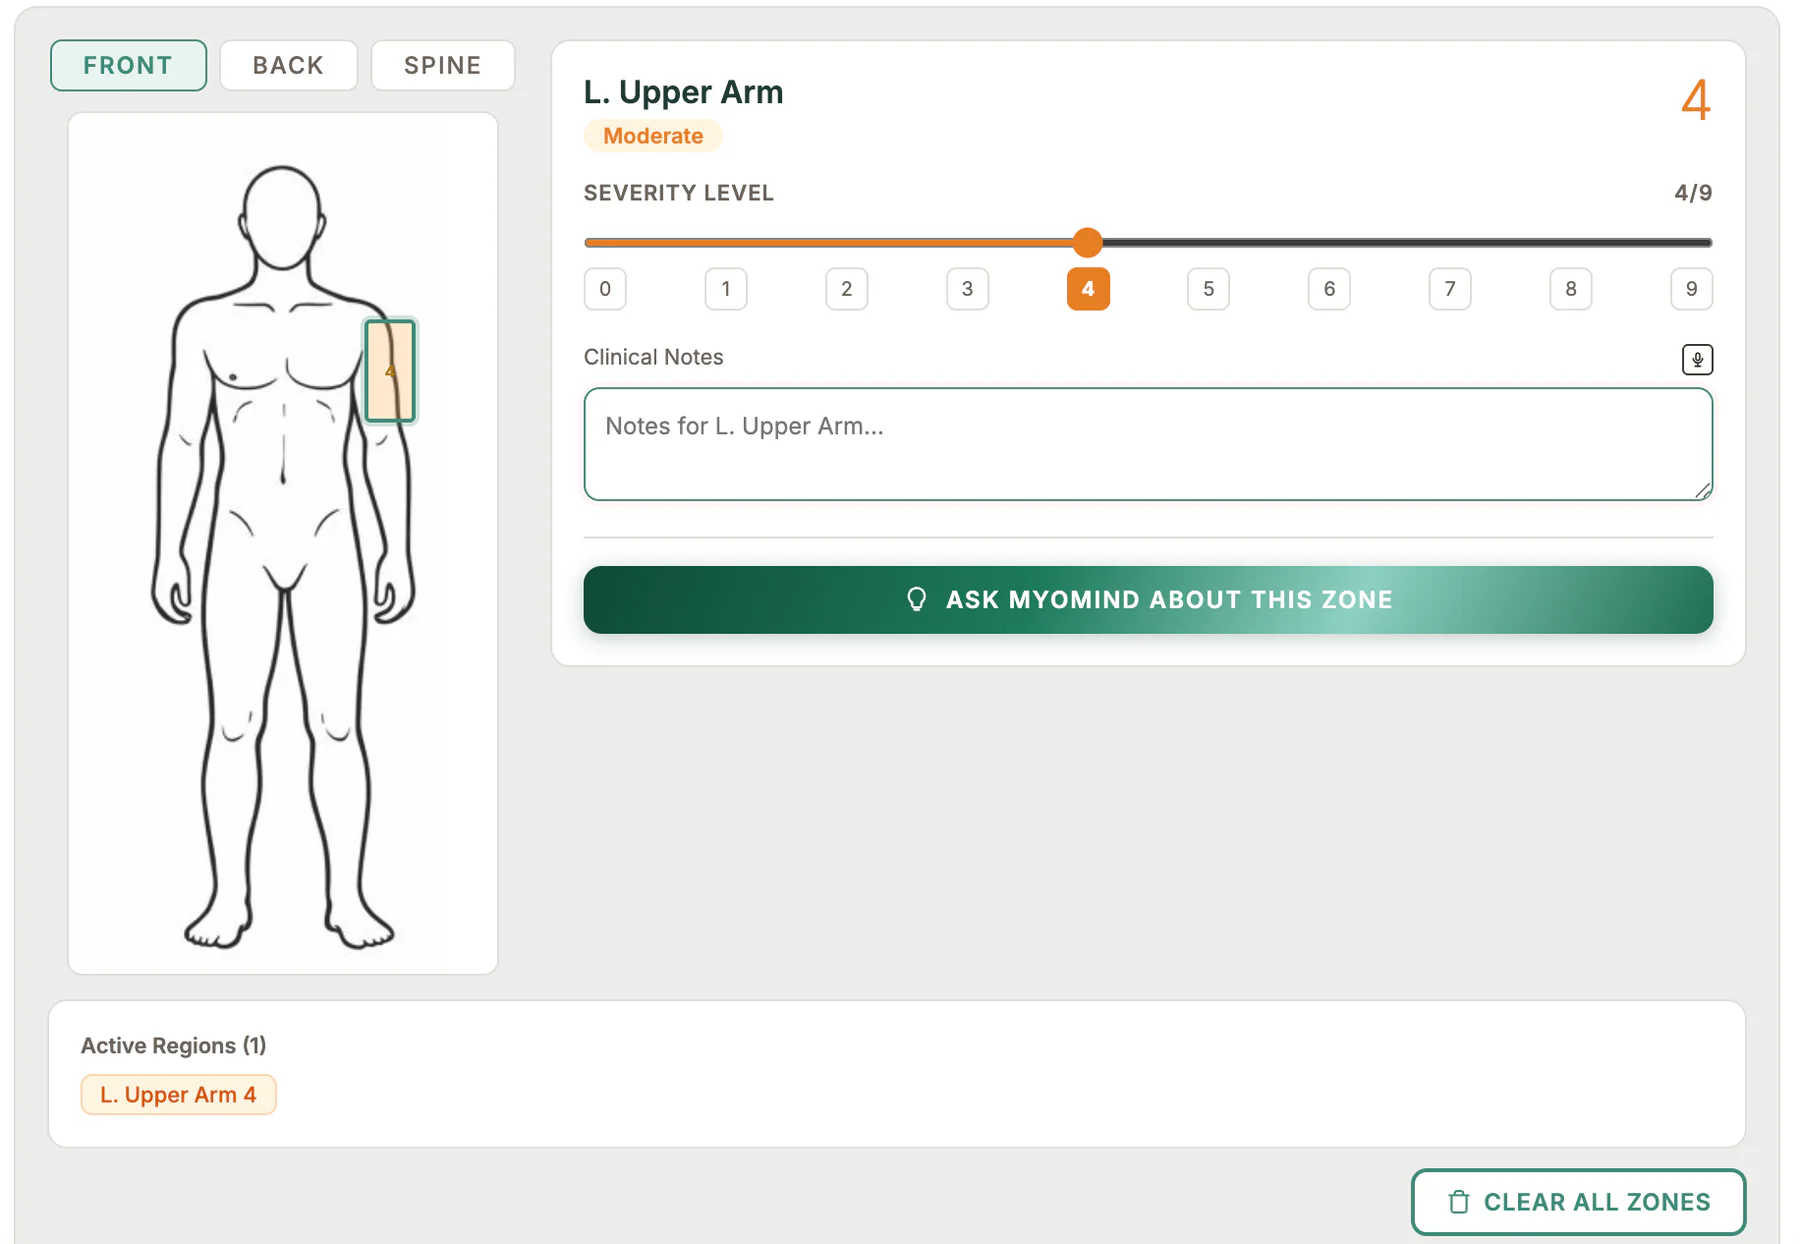
Select the appropriate front, back, side, spine, or clinical view when available.
3
Add marks and details
Use the available markers and attach concise notes that explain their meaning.
4
Review the chart
Make sure marks are legible and consistent with the written note.
5
Save with the note
Confirm the session note and body-chart information are saved to the intended record.
Important checks
- A body-chart mark should supplement, not replace, clear written documentation.
- Use consistent terminology across visits so changes are meaningful.
- Locked or signed records should be corrected through the approved amendment process.
Test safely: Use Firebase Dev and Stripe test mode for workflow tests. Do not create live client, payment, package, or membership records just to test a guide.